![Iventis_Pos_CMYK-1.jpg]](https://support.iventis.com/hs-fs/hubfs/Iventis_Pos_CMYK-1.jpg?height=50&name=Iventis_Pos_CMYK-1.jpg)
-
Select the Data Source
Start by selecting the Layer within your plan where you intend to integrate the geospatial data by clicking on it. Navigate to Import from the dropdown menu.

You have the choice to either drag and drop the GeoJSON or JSON file directly into the upload panel or use the Choose file function to locate and upload the file from your system.

Once the file is uploaded, you are given the opportunity to map specific geospatial data properties to correspond with attributes within your chosen Layer.
On the left-hand side of the Import data to map list, your Layer attributes will be listed. Simply select the arrow on the relevant Field to import box on the right-hand side to choose the corresponding property.
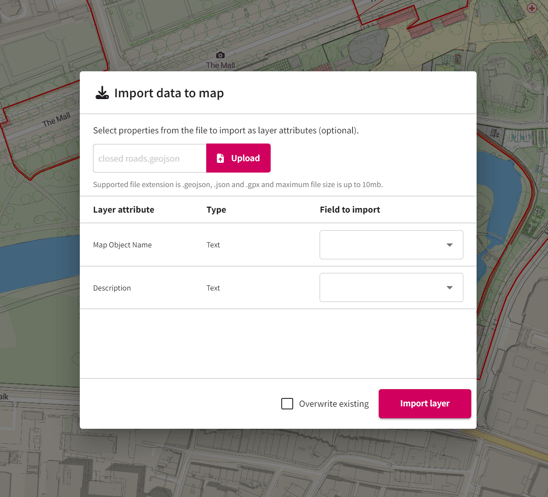
In this example, we map the Field to import Instructions to the Layer attribute Description.

And the Field to import Instructions to the Layer attribute Description.

3. Finalise and Import
After mapping the properties, continue by selecting Import Layer. This action completes the import process. Congratulations! Your external geospatial data has now been successfully imported and incorporated into your plan ready for use.
Note: The maximum file size for upload is 10MB. If your file exceeds this limit or if you have other file extensions you’d like to import, please contact us. We’d be happy to help.
Example: Watch how easy it is to import geospatial data into your plans.